Quick painting of Elsa from Frozen using the Soft Airbrushing technique. Very anime-like style for this character. Fun to do and a great little break from my usual daily activities. Hope you like it.
Tag: Wacom Cintiq
How to Paint Portraits – The Soft Airbrushing Technique
 I never thought I would be painting a dog but there’s a first for everything I suppose. I had my hesitations on this commission piece, mainly due to the subject matter. Painting fur is a tedious process. But I got through it and I’m glad I did. It’s nice to do something new once in awhile.
This owner loves his dog. And only after I started to paint and having to look at the original photo for a long period of time did I finally started to feel how much he loves this dog. And it’s that love that I wanted to show in this painting as well. That was my focus. If you can feel the love he has for this dog, then I would have succeeded. That is what motivated me to push myself and finish this piece.
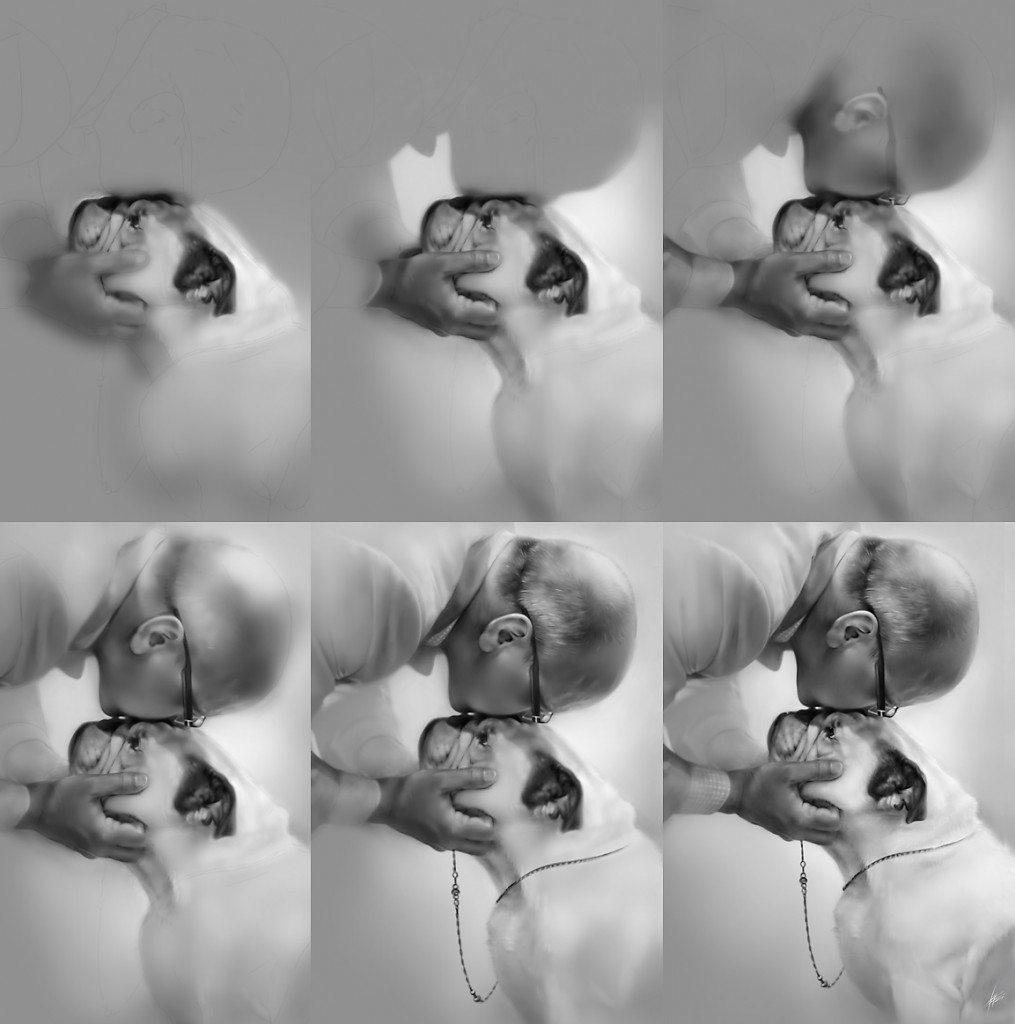
As usual, this was painted in Photoshop using the Soft Airbrushing technique. I didn’t make a video of the painting, but I did manage to save off snapshots of the painting throughout the process. The image is below.
The Painting Process
Couple Portrait Painting
I’m a Wedding Painter?
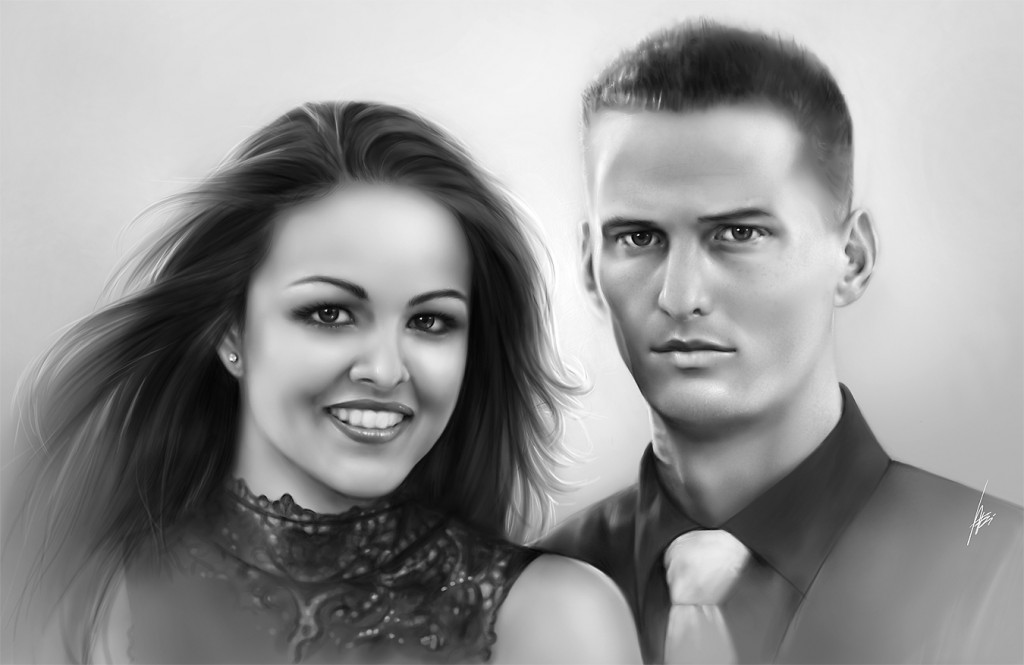
A professional photographer once told me that being a wedding photographer ranks the lowest on the totem pole for photography. If that’s true, will being a wedding portrait painter make me the lowest of painters? Haha. Okay, seriously, no disrespect for wedding photographers. They do great work. I think it’s just that being a wedding photographer has a relatively low entry requirement, therefore, you get the amateurs as well as professionals. Anyhow, back to painting. This painting was done at a request from a father who wanted to give a painted portrait of his daughter and future son-in-law as a little surprise wedding gift to them. He owns a custom wrapping and printing company so naturally this would be printed. I hope everything went great and I’m curious how this painting was received by the bride and groom.
Soft Airbrushing at High Resolution
This was a much more involved painting. Usually with my limited time, I spend roughly 2 hours for any kind of work on my own. Since the painting was to be printed, I had to work at a much larger resolution. This took me about 8 hours to paint. The final resolution was almost 4000 pixels wide. Ultimately, this was a good test for me because I was curious how the larger resolution would affect my soft airbrushing technique. As it turns out, the affects were minimal. Working at a larger resolution just meant using a larger brush, which in Photoshop is never an issue. But at larger resolution, more time was spent on the details, which was to be expected. I’m glad my technique has survived the test of high resolution.
Painting Hair and Details
The most challenging part was her hair and the details on her dress. I get impatient with too much details. I don’t have ADD, it’s just that I don’t like too much repetition=). But I’m glad I got through it. The fun part was making the composition come together. Like fading some areas out to focus the eye, and sharpening certain edges to draw attention to the area. That’s the art part that I enjoy most. Because without that, it’s just a copy of a photo. Well, hope you like this, and do check out the video below for the painting process. Until next time, -Wei
Portrait Painting Video
Sketching with the Samsung Galaxy Note 10.1
Sketch of Soldier with the Galaxy Note
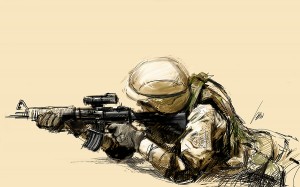 Finally had a chance to play around sketching on my new Samsung Galaxy Note 10.1. There are quite a few of free drawing and painting softwares for the Galaxy Note but I decided to purchase Autodesk’s Sketchbook Pro 6 for $5. The thing with free programs is that there’s usually a catch, either a trial version or some kind of ad placement. Anyhow, Sketchbook Pro has been around for awhile so it’s the natural choice in my opinion. Here’s a sketch on the Galaxy Note 10.1. Since it’s Memorial Day weekend, a soldier sketch seems appropriate.
Limited Range of Sensitivity with the Pen on the Galaxy Note 10.1
After getting some playtime, I’ve come to realize that Sketchbook Pro for tablets is a really simple program. That’s not necessarily a bad thing. Simplicity works well for mobile devices. First impressions is that the pen is just mildly sensitive on the tablet. I am use to the sensitivity levels offered by the Wacom Intous tablets and the Cintiqs. The pen on the Galaxy Note 10.1 is well below those. I find it difficult to achieve a wide range of pressures with the pen. In order to make lighter lines, I have to change the opacity levels. Just applying a softer touch on the tablet offers only a tiny range of difference. It stills works, just not impressive like the Cintiq. Then again, this is a $400 tablet computer compared to a Cintiq monitor for $2000. So comparing the Galaxy Note to the Cintiq is probably not a valid comparison.
Sketching is Fun on the Galaxy Note
Once I got over the limited pen sensitivity, I really enjoyed sketching on it. You find ways to adjust your workflow according to the hardware and software. I ended up just using the pen tool for solid lines and started sketching. It’s really fun. The lag is noticeable, but not a deal breaker. Screen size is small but workable. The screen resolution for sketching is sufficient. The fact that it is portable and you can have it up and running in a few seconds is incredibly convenient. I’m afraid that I might not pick up a pencil anymore for sketching.
I’ll have more reviews on the sketching and drawing on the Galaxy Note later as I play with it more. But these are just my initial thoughts.
Portrait of my Wife for Mother’s Day
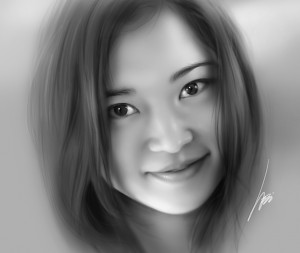 I painted a portrait of my wife for Mother’s Day. My wife has been hinting to me as to why I have been painting other people and not her. I suppose I needed to this=). And really, it’s much better than giving flowers on Mother’s Day!
Anyhow, another soft airbrushing painting. Hope you like it. Click on the image to view at full resolution.

